How to Enable HTTPS in Spring Boot Application

This article will see what’s needed to turn an HTTP into an HTTPS endpoint. Then we will implement an endpoint in a Spring Boot application and make it available over HTTPS.
Let’s go through a few terms and concepts first.
SSL
SSL, a.k.a Secure Sockets Layer, is an internet security protocol that establishes security for data in transit between two computer devices.
SSL encrypts the data transmitted between multiple devices, making it nearly impossible to decrypt by bad actors.
SSL was later upgraded to TLS, but by then, the name SSL had become so popular that the certificates were still called SSL/TLS certificates.
SSL certificate
SSL certificate is used to identify a server. Clients use this certificate to verify if the server is really who it claims to be.
A Certificate consists of a public and private key pair. The private key is stored on the server, and the public key is packaged with the certificate and shared with the client during the SSL handshake.
Clients use the public key from the certificate to encrypt data, and the server uses the private key to decrypt data.
Different authorities provide these certificates, but in this tutorial, we will generate a self-signed certificate, a dummy certificate that is also free.
So now we know that HTTPS is nothing but an HTTP secured with an SSL certificate.
Keystore
In Java, a KeyStore stores private keys and certificates with public keys. The format in which these digital keys and certificates are stored in a Keystore is called Keystore format.
Since Java 9, the default Keystore format is PKCS12. We will be using the PKCS12 Keystore format in this tutorial.
Tools to generate a certificate
We can use OpenSSL or keytool to generate self-signed certificates.
Note that connecting to a server with a self-signed certificate is allowed in specific browsers with a warning, but tools like Postman don’t trust these certificates.
Now, let’s get into the implementation part.
Implementation
Use this command to generate the certificate from a command prompt.
keytool -genkeypair -alias samplekey -keyalg RSA -keysize 2048 -storetype PKCS12 -keystore samplekey.p12 -validity 3650Each key pair is identified using an alias name. We will also need to use the same name in our properties file.
You will be asked a bunch of questions after running the above command. Make sure you remember the password; we need to add that to the property file.
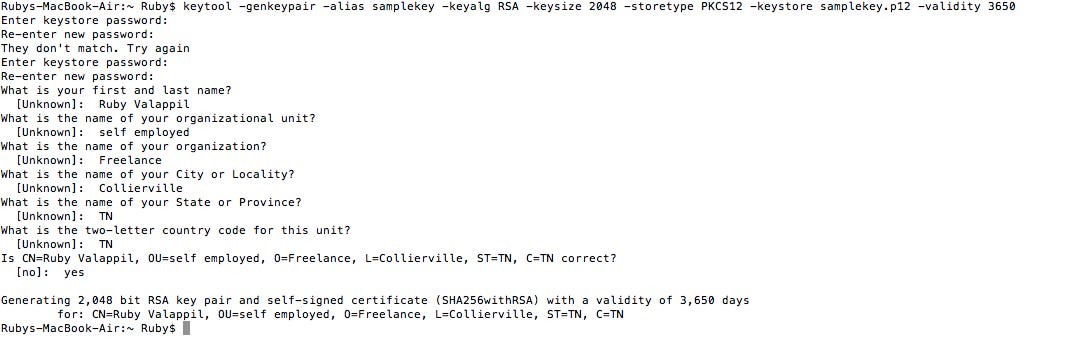
(Key would be generated in the directory from which you ran the above command.)
Create a SpringBoot project and add a simple GET API.
Copy the certificate to your resources folder under a new folder named keystore. (src/main/resources/keystore)
Add the following properties to the application.properties file
server.ssl.key-store-type=PKCS12
server.ssl.key-store=classpath:keystore/samplekey.p12
server.ssl.key-store-password=<Password used while generating the certificate>
server.ssl.key-alias=samplekey
server.ssl.enabled=true
Run the application.
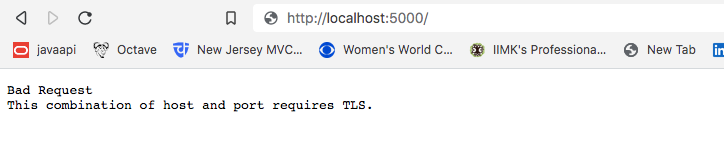
Once the app is up, hit your GET API from the browser. In my case, it is “https://localhost:5000/”
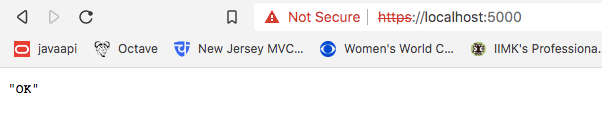
That’s it; we have enabled an HTTPS call to our server.
If you hit the above API with an HTTP protocol, you will get a 400 Error.
Testing from Postman
Postman provides a way to add client certificates, but it doesn’t work well with self-signed certificates generated using the PKCS12 Keystore.
I did try converting the certificate to PEM type and adding it as a CA certificate in Postman.
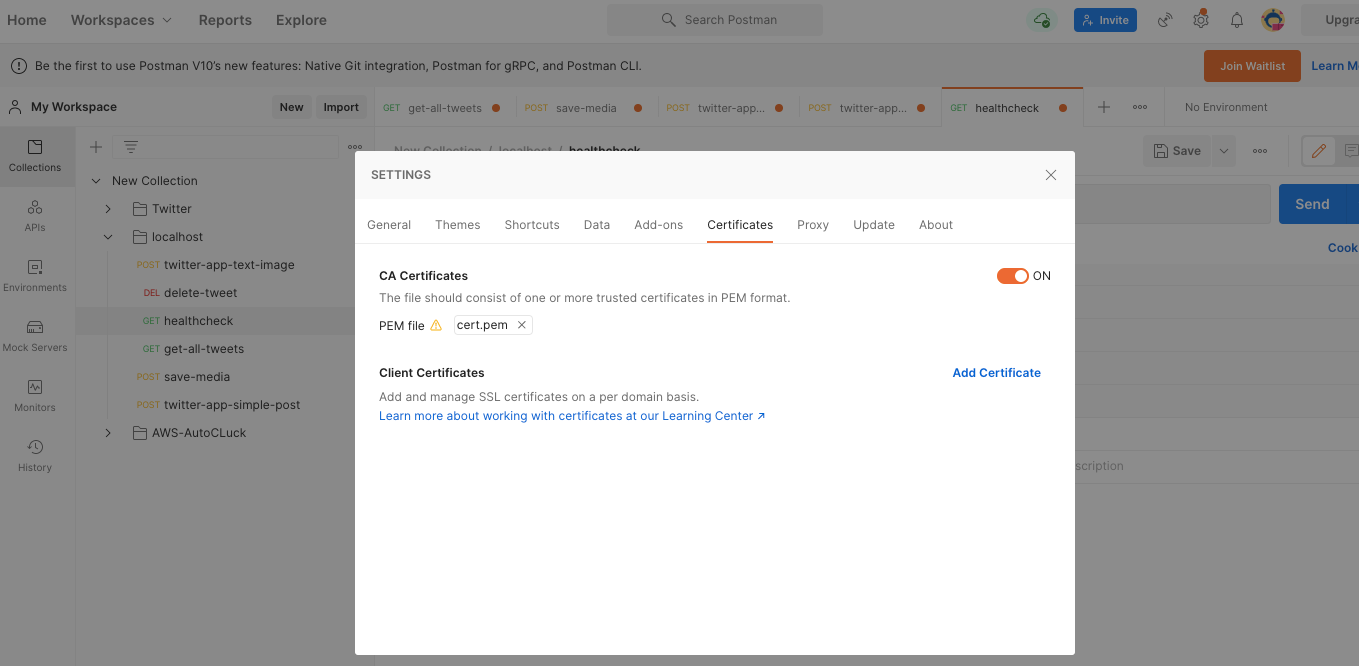
This didn’t work even after multiple tweaks.
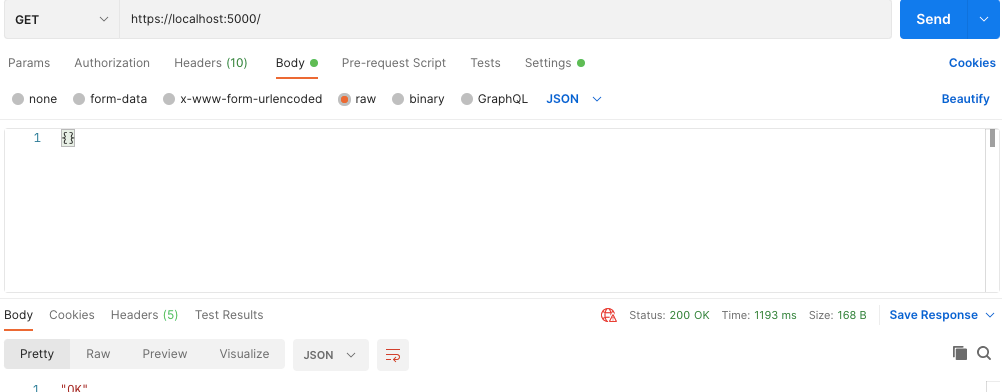
If you still want to test through Postman, the easiest way is to disable SSL verification.
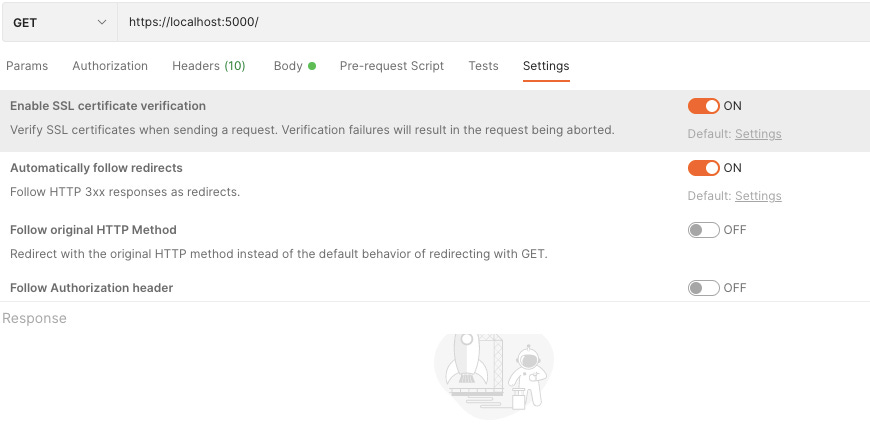
After disabling the SSL certificate validation, we will get the expected output if we hit the GET API from Postman.